

Easy Sourdough Recipes that I make regularly for my family. There’s something truly special about baking your own homemade sourdough bread, from nurturing an active sourdough starter to pulling a golden brown loaf of bread out of a hot Dutch oven.

Whether it’s your first time or you’re deep into your sourdough journey, let me share with you a step-by-step process using simple ingredients and practical tips for the best results.
Sourdough Sandwich Bread

Getting Started with Sourdough Baking
At the heart of all easy sourdough bread recipes is your own sourdough starter. This living culture of wild yeast is what gives sourdough its signature rise and tangy bread flavor.
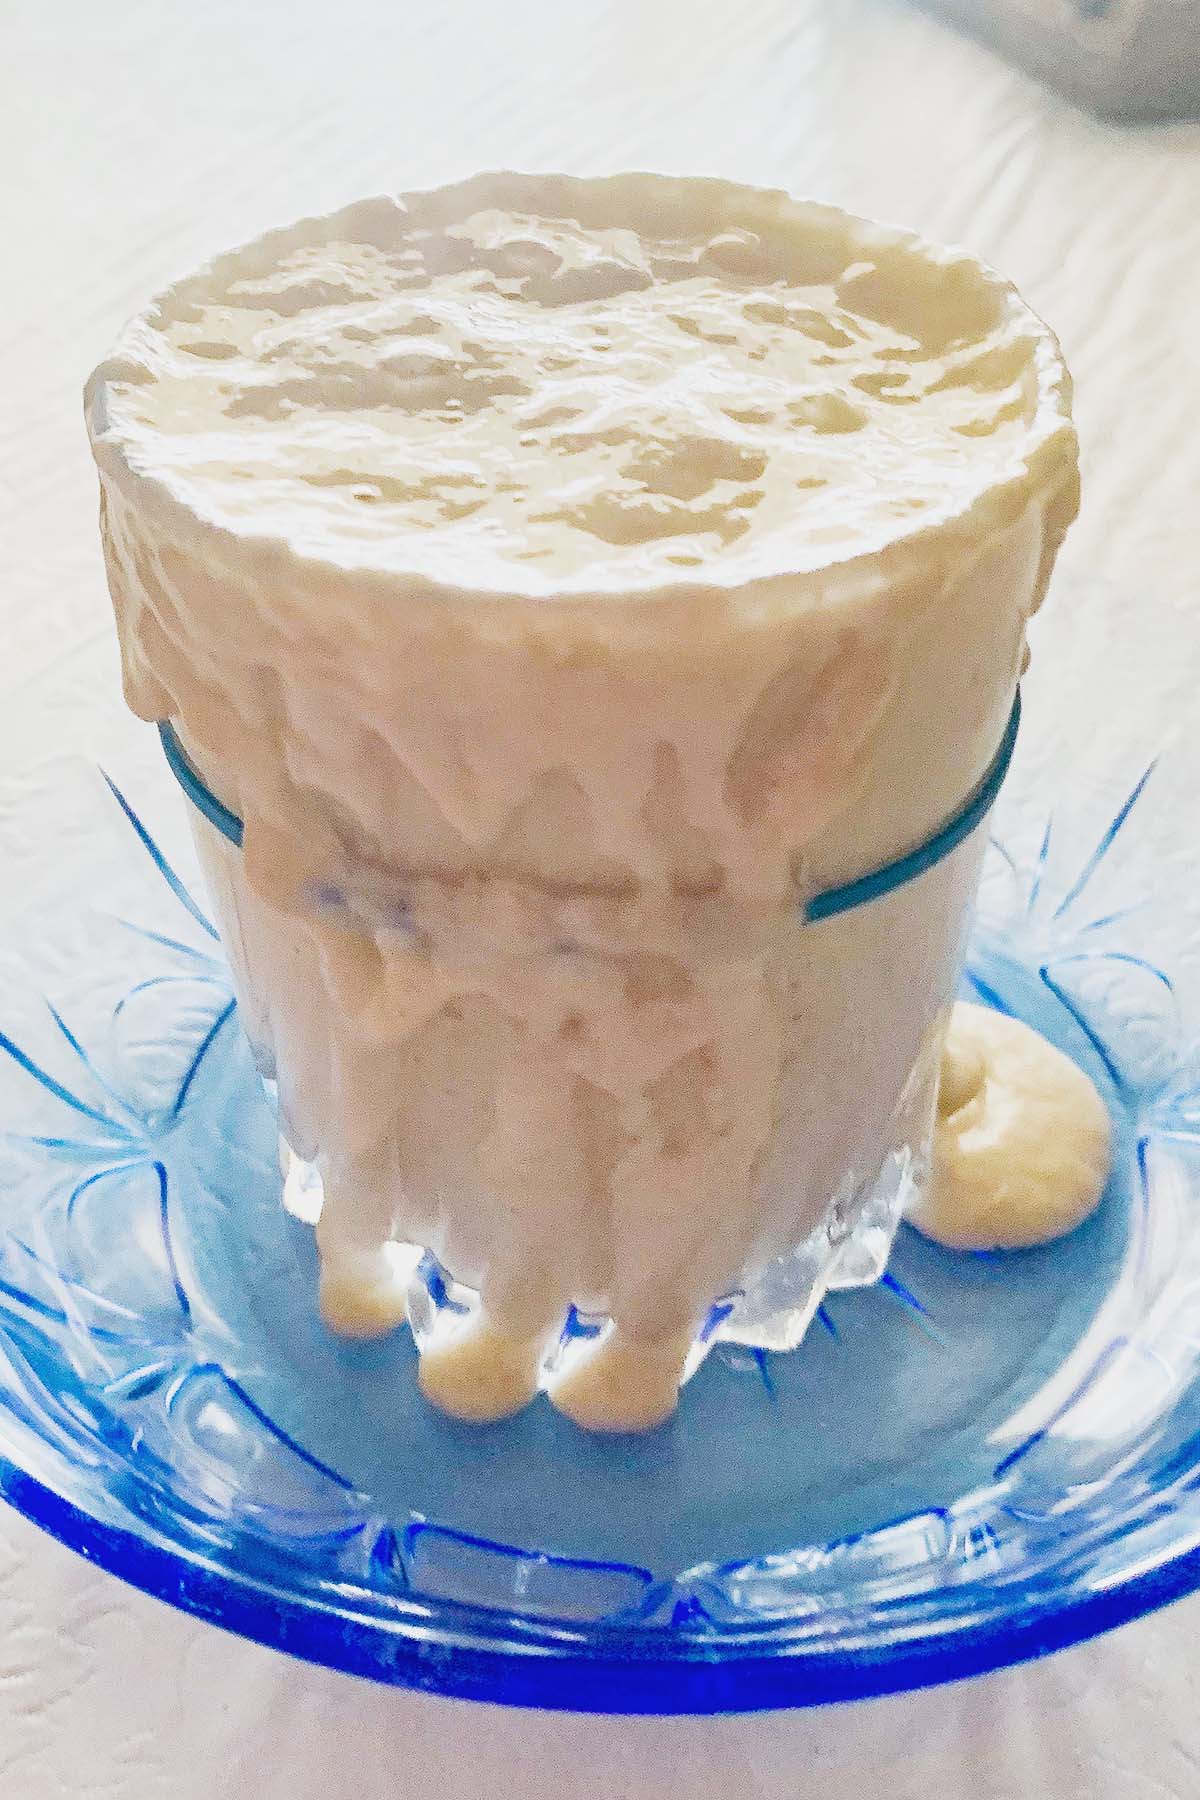
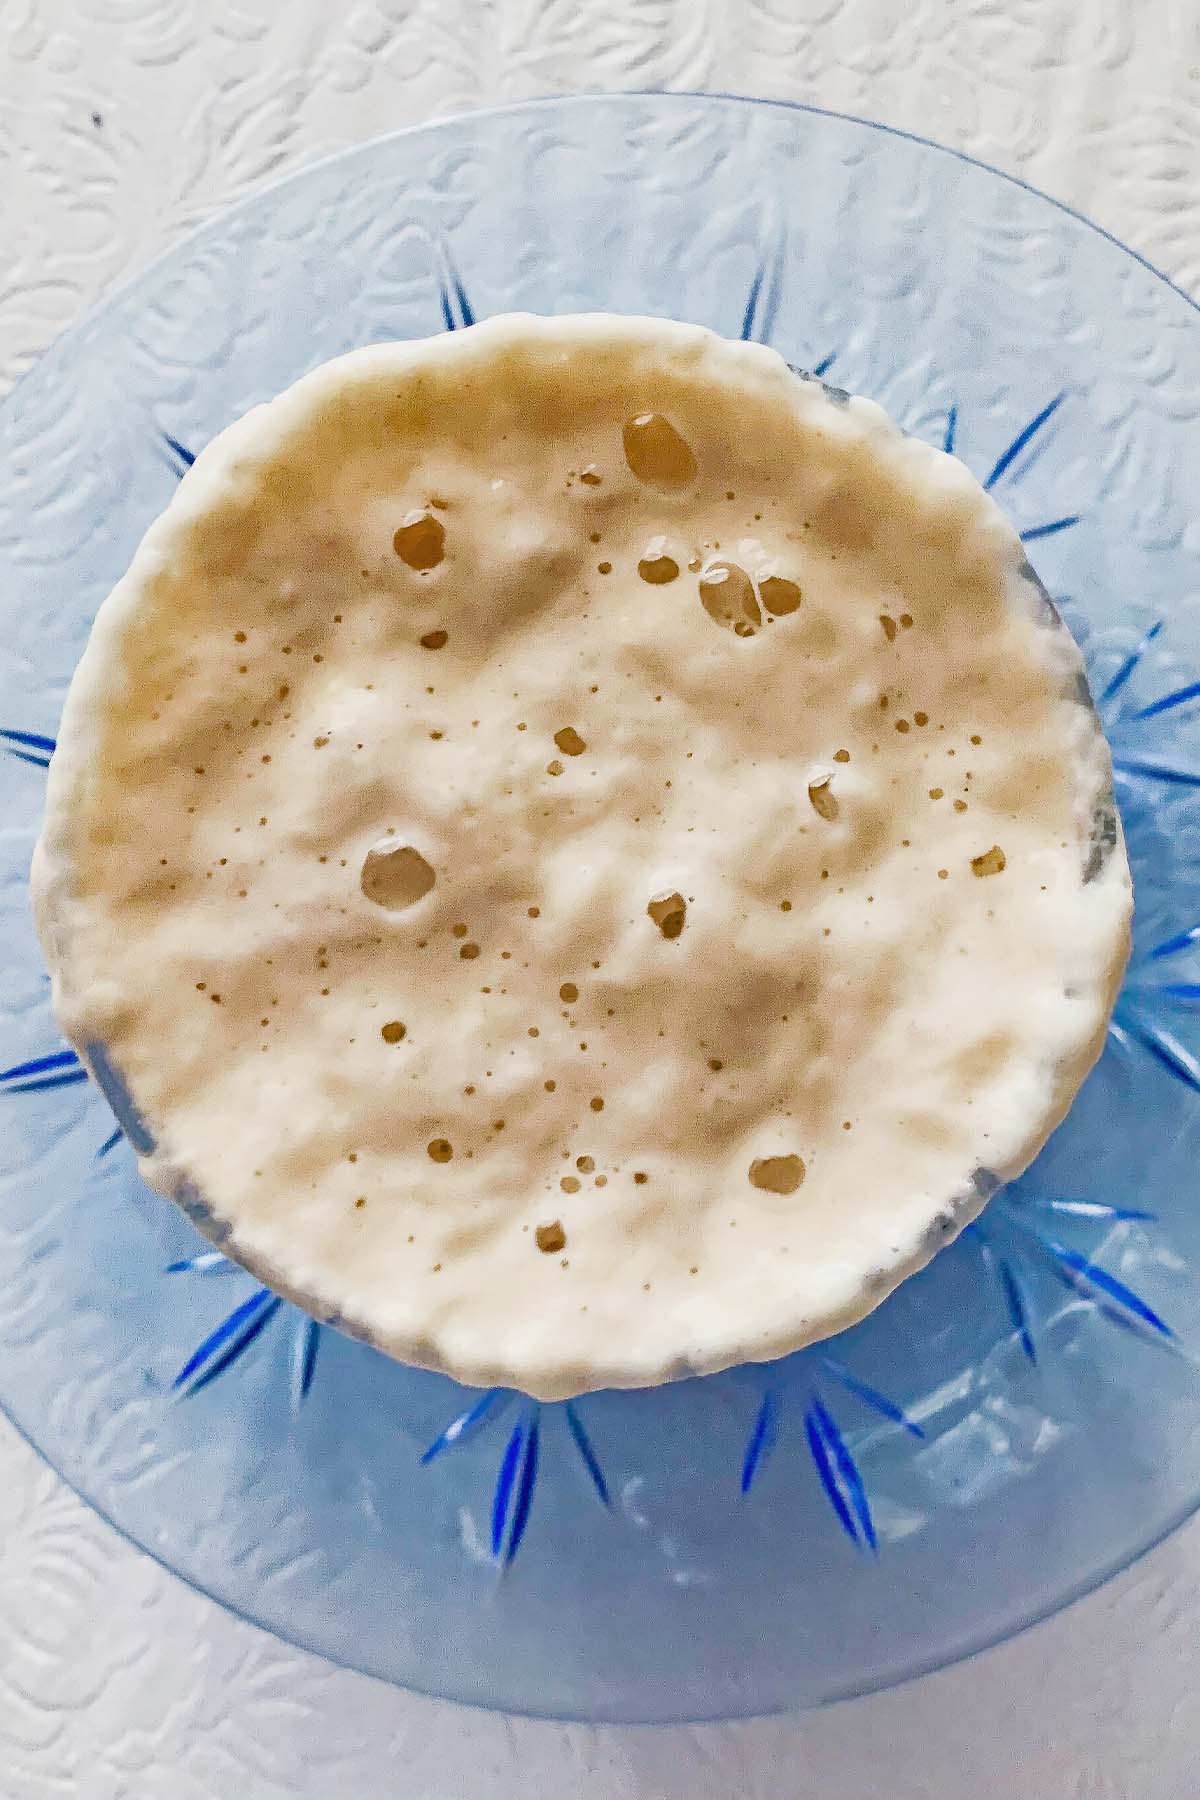

To know when your starter is ready, look for peak activity when it doubles in size and passes the float test (a spoonful floats in water). This ensures a strong dough rise and helps build a good gluten structure.
Ingredients You’ll Need
- White bread flour or high protein bread flour
- Whole wheat (optional for added flavor)
- Lukewarm water
- Active starter (about 1 cup starter)
- A touch of rice flour for dusting
The Basic Recipe for a Simple Sourdough Recipe
This basic recipe is perfect for creating an artisan loaf with an airy crumb and crisp crust.
½ cup active and bubbly sourdough
1 ½ cups warm water
3 ½ cups bread flour
2 teaspoons salt
Step 1: Mix the Dough
In a large mixing bowl or large bowl, use a wooden spoon or your hands to mix until a sticky dough forms. Cover with plastic wrap or a damp cloth and let it rest at room temperature.


Understanding the Fermentation Process
The fermentation process is where the magic happens.
Bulk Fermentation
During bulk fermentation, the dough rests and strengthens. This stage depends heavily on the temperature of your kitchen:
- Warmer temperatures = faster fermentation
- Cooler temperatures = slower fermentation but deeper flavor
Perform a set of stretch and folds every 15 minutes a couple of times to start gluten development and improve structure.


Use a rubber band on your container to track the bread rise.
Shaping and Proofing Your Dough
After bulk fermentation, transfer your dough to a lightly floured surface using a dough scraper. Shape your dough gently into an artisan-style sourdough loaf.


Place it into a proofing basket or banneton basket dusted with rice flour. Cover with a brown paper bag or plastic wrap.
Cold Proof vs Room Temperature
- Cold proof / cold fermentation (in the fridge overnight) = better flavor and easier scoring
- Room temp proof = faster but less complex taste
Scoring and Baking
Preheat your cast iron dutch oven—this is key for a burst of steam and a better rise.


Transfer your dough onto a piece of parchment paper. Use a sharp knife or razor blade to score at a degree angle for that classic look.
Baking Options
- Best dutch oven method: traps steam for crusty loaves
- Open bake on a pizza stone or regular baking pan works too
Bake at around 400 degrees F until the crust is golden brown. Check doneness by measuring the internal temperature (around 200–210°F).

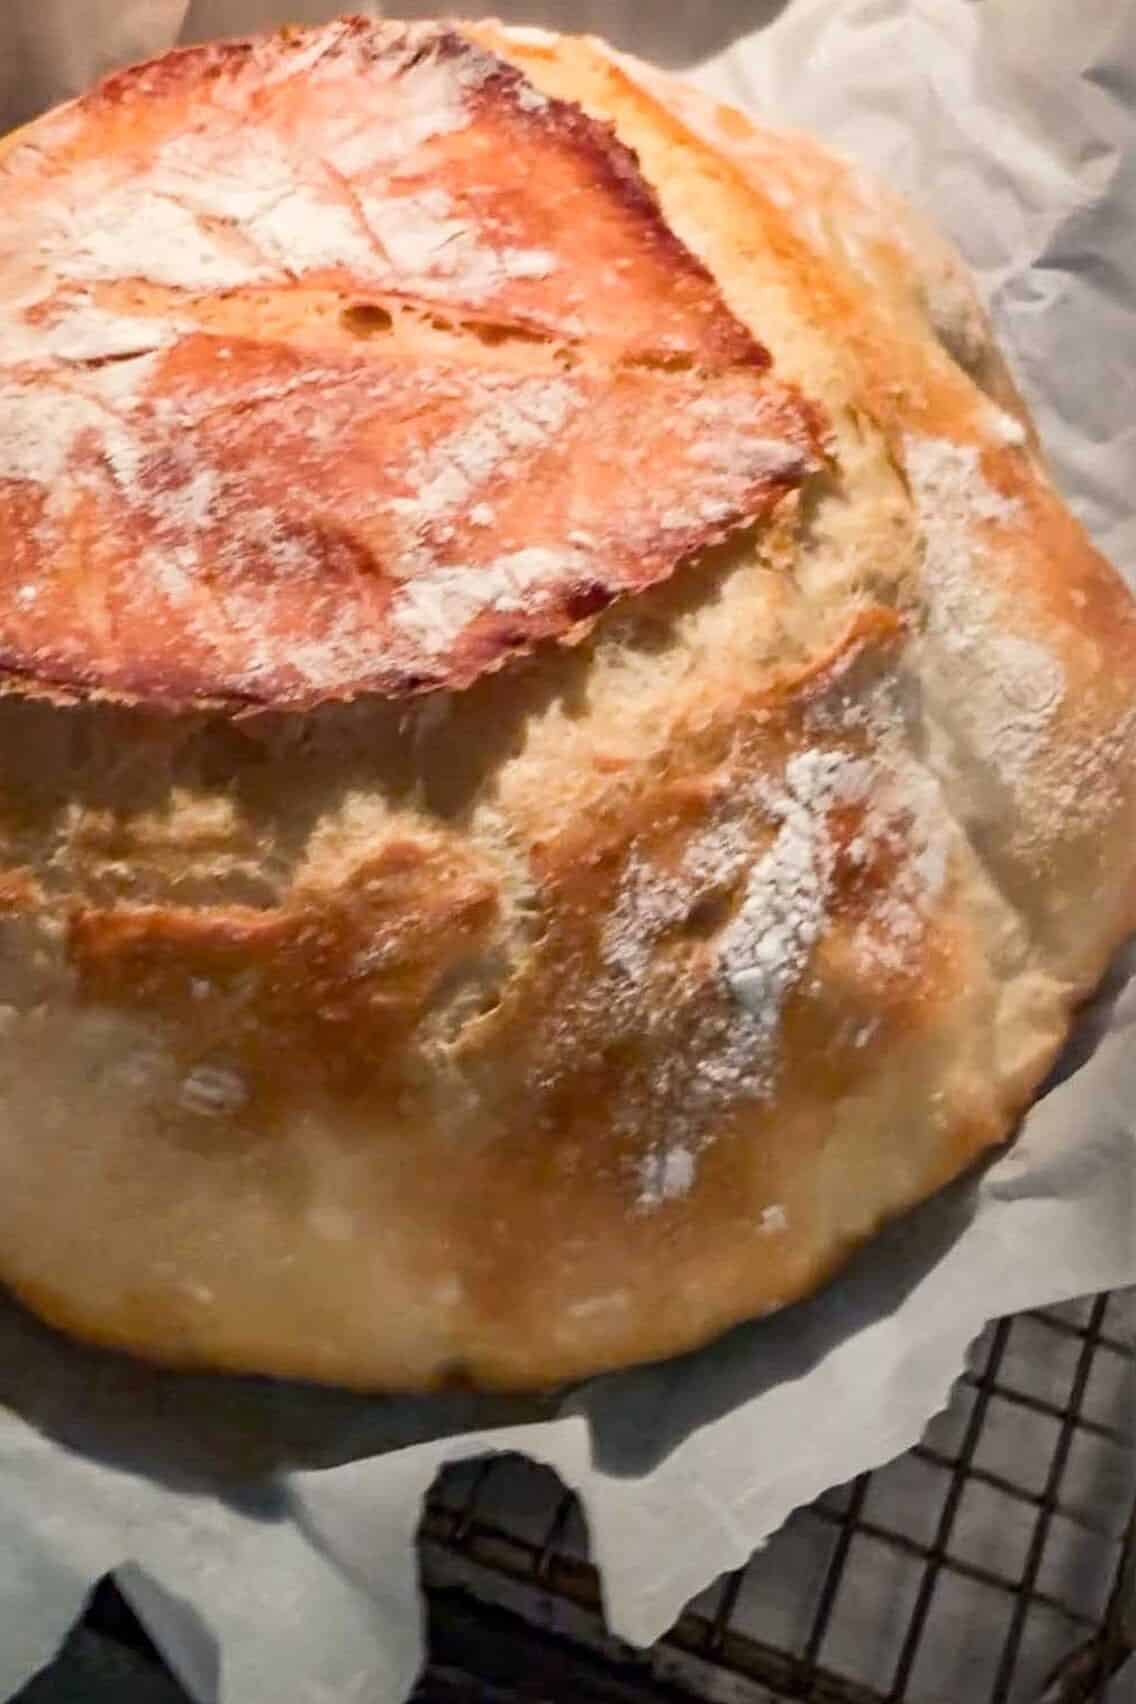
Cooling and Enjoying Fresh Sourdough Bread
Let your fresh sourdough bread cool completely before slicing. This step is often overlooked but crucial for that perfect airy crumb.

The result? A nutritious homemade bread with a crisp crust and soft interior is a true gut-healthy loaf.
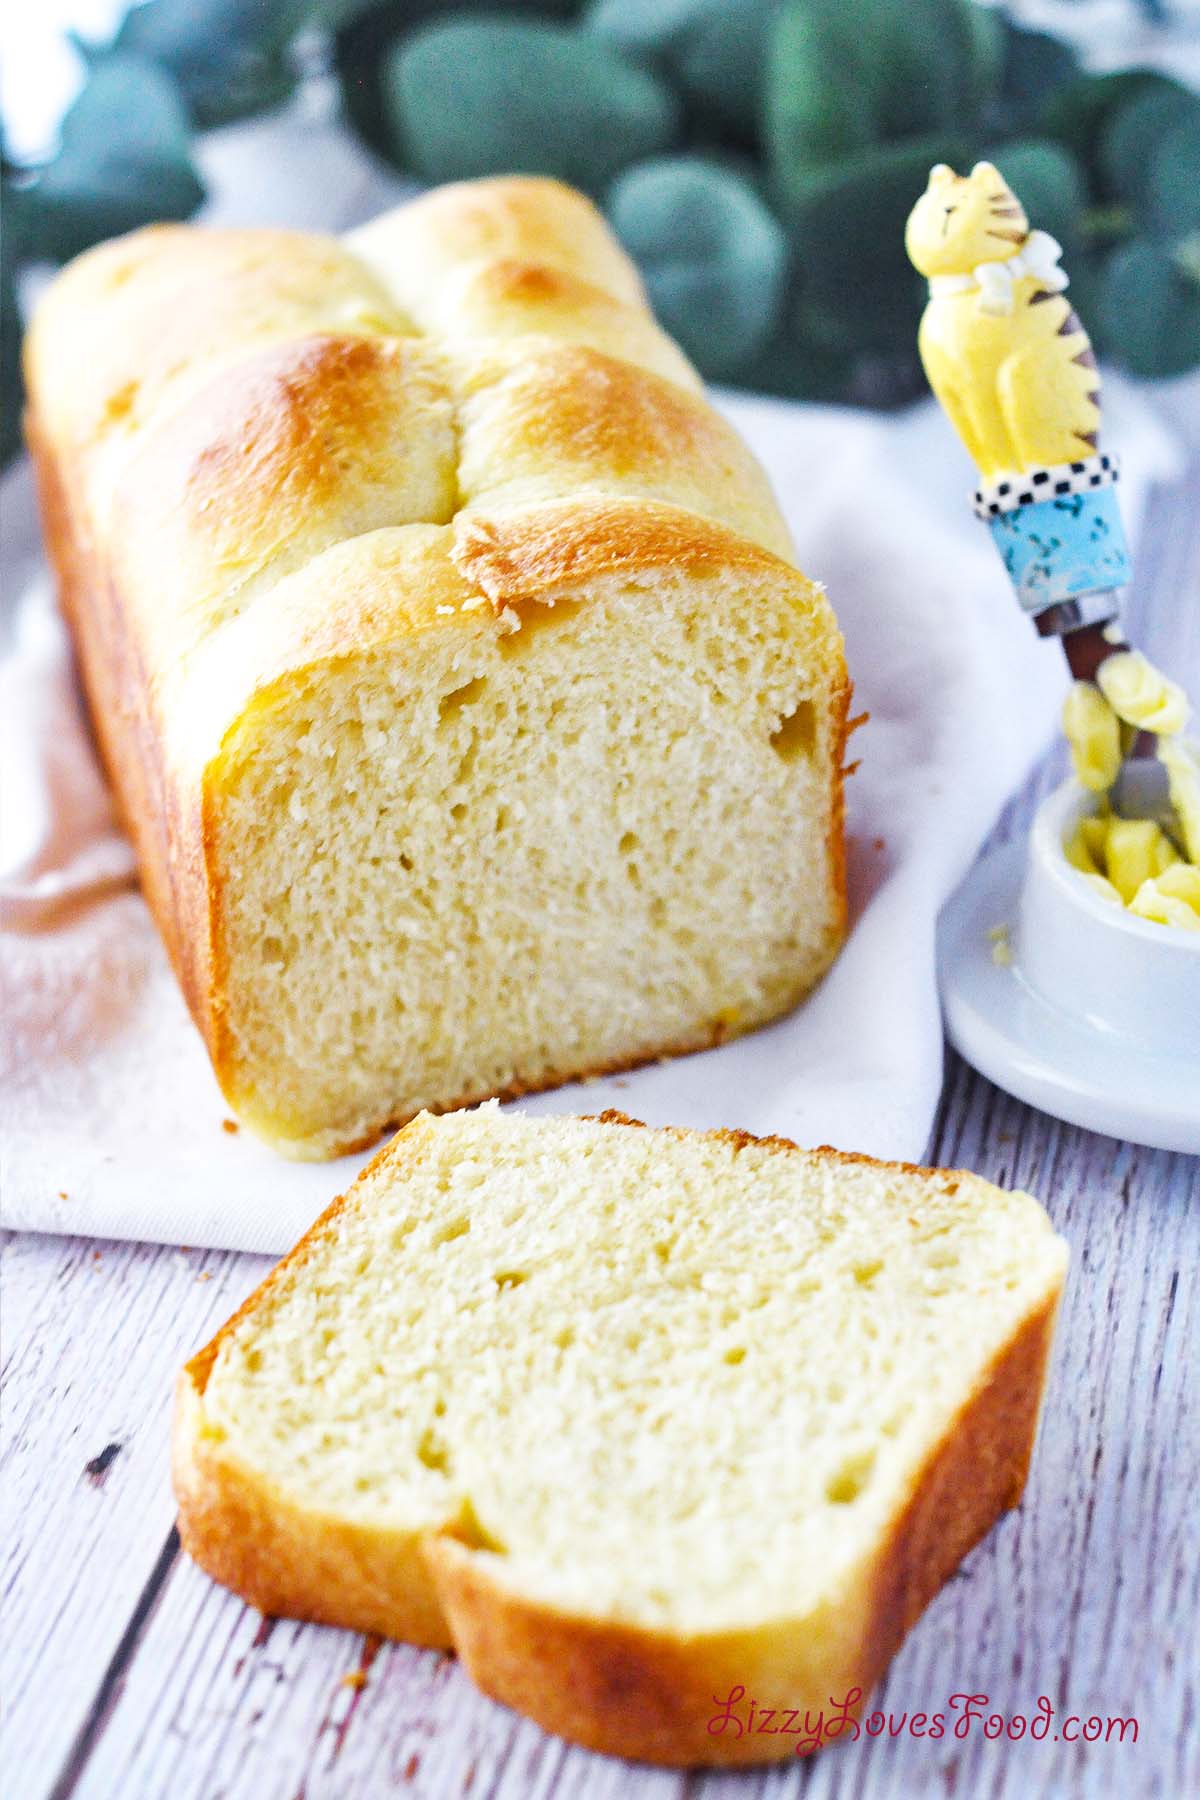
Sourdough Brioche
Tips for the Best Sourdough
- Use room temperature ingredients for consistency
- Track your dough temperature for better control
- Don’t rush the process—great sourdough takes time, not just hard work
- Experiment with different methods to find your usual baking routine
Some Items For This Recipe
As an Amazon Associate, I may earn a small commission from qualifying purchases through affiliate links at no extra cost to you—thank you for supporting this site! Explore all of my Amazon Storefronts or purchase items for this recipe.

Using Sourdough Discard
Don’t throw away your sourdough discard us it for quick sourdough recipes.




These are great when you don’t have a long time to wait for the dough to rise.
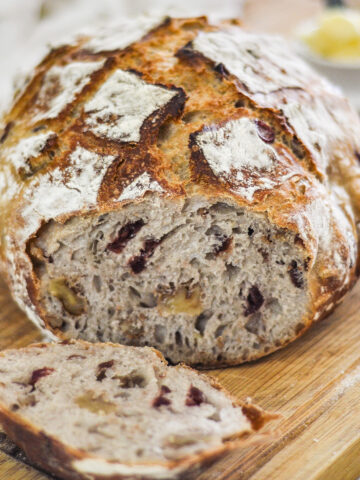


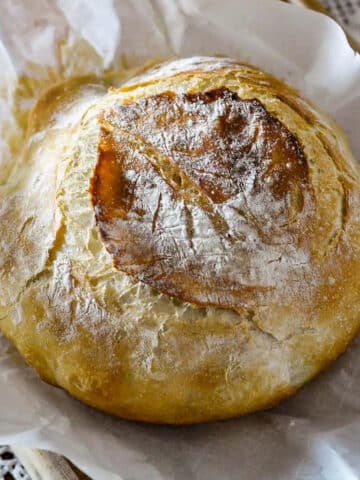
Sourdough baking may seem intimidating at first, but with practice, it becomes second nature. From your first time to mastering the best sourdough, every loaf teaches you something new. Whether you’re baking a simple loaf or experimenting with wild sourdough recipes, the reward is always the same: delicious, artisan sourdough bread made right in your kitchen. Hope you enjoyed our journey today in exploring no knead sourdough bread. Until next time, my beautiful friends, as my quest for the perfect bite continues!

Sourdough Bread for Beginners
Ingredients
- ½ cup sourdough discard
- 1 cup warm water
- 3 ½ cups bread flour
- 2 teaspoons salt
Instructions
Mix the Dough
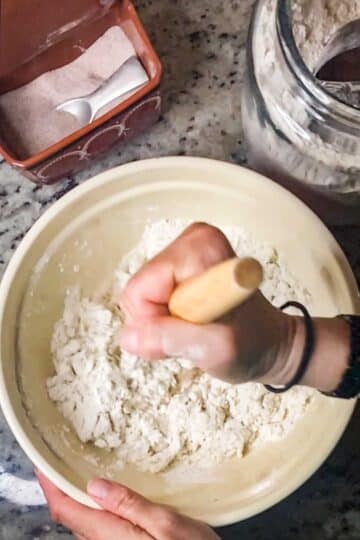
- In a large mixing bowl, combine everything except the salt with a wooden spoon or dough whisk until a very wet dough forms. It will be a little sticky, so don’t worry; that’s normal!

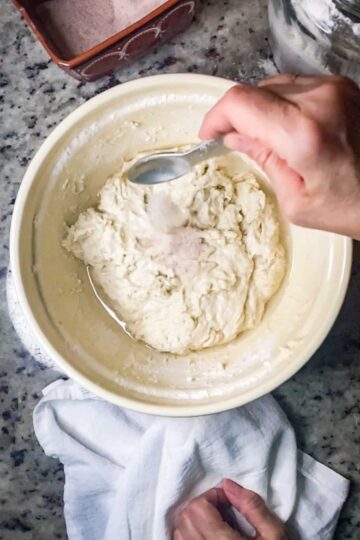
- Let the dough rest for about 10 minutes, and add salt with a little water, then squeeze it into the dough and continue to mix. Now cover the dough and let it rest for 10 minutes,
Fold Dough
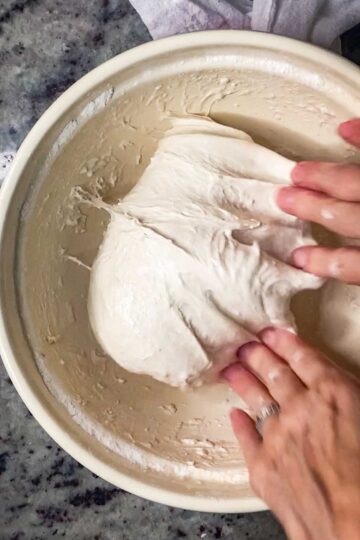
- 1st Fold - Stretch the dough out and fold it over as you rotate the bowl to do it 4 times. Then cover, rest for 15 minutes. 2nd Fold - Repeat. 3rd Fold- Repeat
First Rise
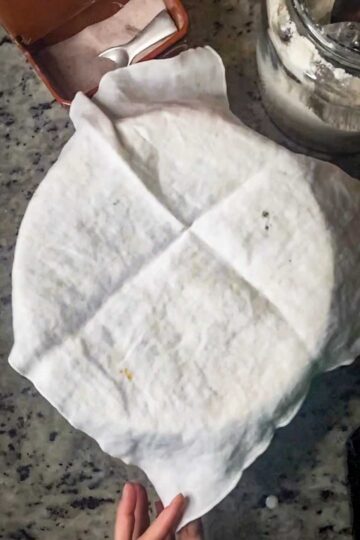
- Cover with plastic wrap or a kitchen towel and let the bulk fermentation begin. Leave it at room temperature for 8-10 hours. Or wrap it in the refrigerator overnight.
Shape the Dough
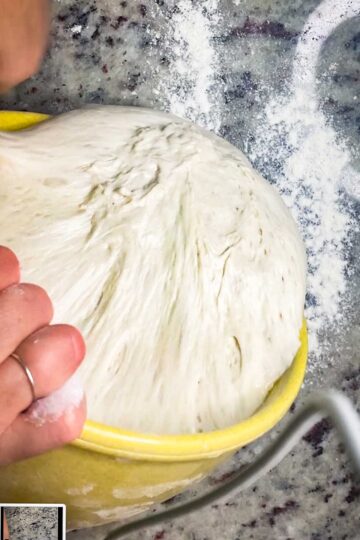
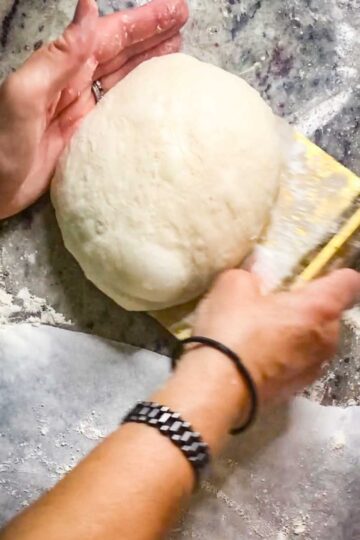
- Flour your work surface lightly. Use wet hands, a bench scraper, or a dough scraper to gently turn out the dough. Try not to play with it too much so it doesn't lose it's bubbles.
- Let it rest for 10-15 minutes, then shape it tightly into a round or oblong shape. Place it seam side down on parchment paper. Watch the video if you need more visuals.
Second Rise
- Cover again and allow for a second rise, which is about 4 hours, depending on your kitchen temperature.
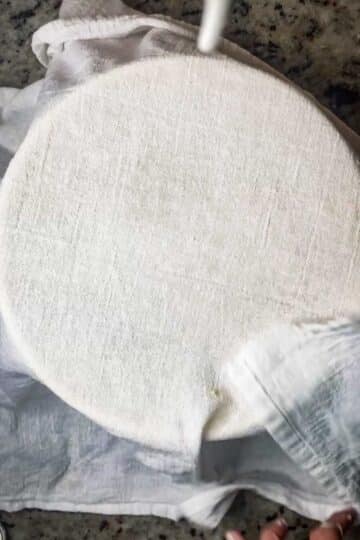
Preheat & Bake
- About 45 minutes before baking, place your Dutch oven (or other baking vessel) in the oven and preheat to 400°F (232°C).
- Once your risen dough is ready, carefully lift it (using the parchment) into the hot Dutch oven. Score the top of the dough with a razor blade or sharp knife. Add about 3 tablespoons of water on the side of the parchment paper to the bottom. Move your oven rack so the Dutch oven fits evenly in the center of the oven.
- Bake covered for 20 minutes, then uncover and bake for an additional 15-20 minutes, or until deep golden brown. Check doneness by measuring the internal temperature (around 200–210°F)
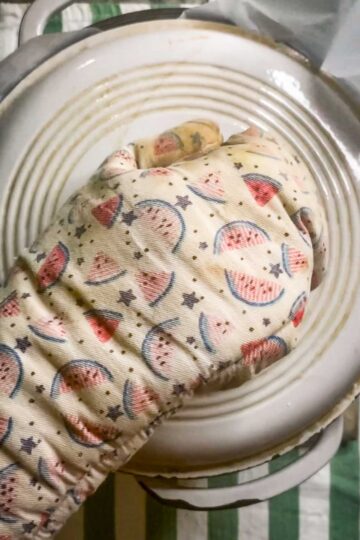

Cool & Enjoy
- Remove the loaf to a cooling rack and let it rest for at least an hour. Slicing too early traps steam and can gum up the crumb. You’ll be rewarded with a beautiful sourdough loaf that’s crusty on the outside, and soft inside.

Notes
- For best results, heat the Dutch oven first for at least an hour
- Store leftover bread in a plastic bag or wrap it in foil.
- Want to add more whole grains? Swap in more whole wheat flour or rye next time.
- Try baking half of the dough if your Dutch oven is small, or bake the other half in a loaf pan.
Leave a Reply