

Roasting Beef Bones for Broth is a nutrient-rich cooking liquid packed with amino acids, minerals, and collagen known to support gut health, joint pain relief, and overall well-being.

While store-bought versions are available, nothing beats homemade bone broth's rich flavor and health benefits. During the winter months, I tend to make a lot of soups and I love making roasted bones for broth that I use the my soups.
Broths have been made in various forms in ancient Mesopotamia, Egypt, China, and Greece, among others. The concept of boiling meat and bones to extract flavors and nutrients is so ancient and widespread.
In Europe, broths and soups were common in ancient Greece and Rome, and by the Middle Ages, many European cultures had their own variations—like the famous French pot-au-feu, the English beef broth, or the Italian brodo. Similarly, in Asia, countries like China, Japan, and Korea have long histories of making broths for soups, using ingredients like bone marrow, seaweed, and various spices.
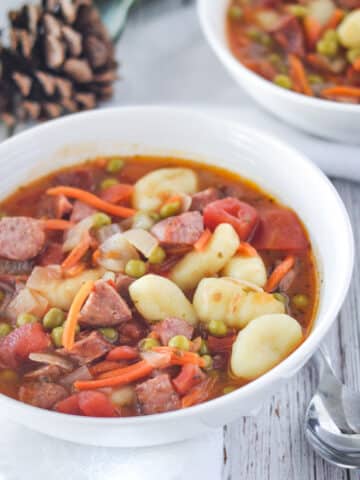
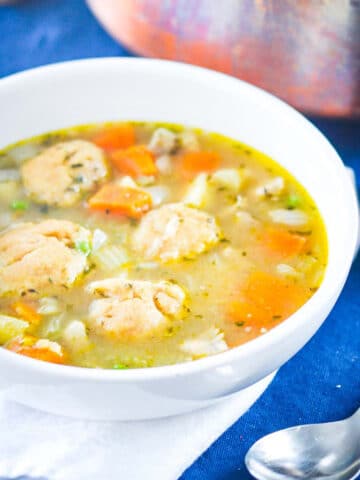
Soups with Broth

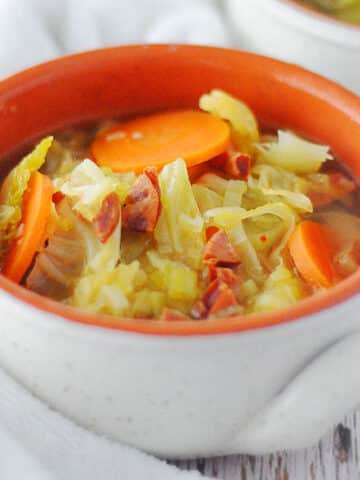
The broth is a universal food that evolved across many regions and now for my version of Roasting Beef Bones for Broth.
What You’ll Need
To get started, gather your ingredients and kitchen tools. The process is fairly simple, but it requires some time to bring out the deep flavors.
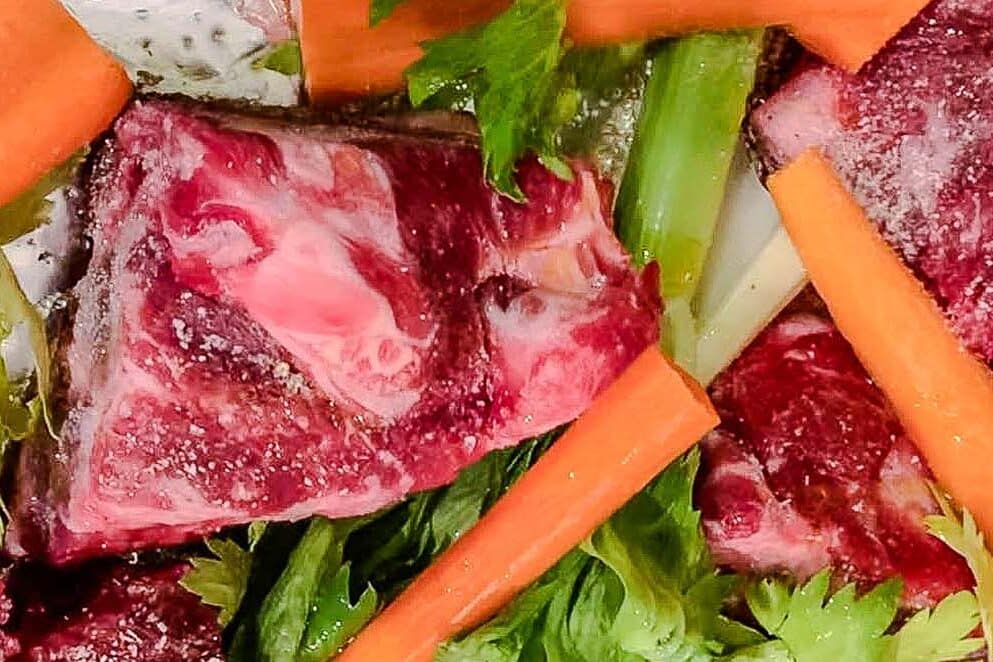
- Bones: You can use a variety of bones such as beef marrow bones, veal bones, or soup bones. Best beef bones for broth often include knuckle bones, oxtail, and short ribs. For chicken bone broth, chicken carcasses or even a whole chicken works well. Be sure to choose soup bones that are rich in connective tissue and bone marrow for a silky, rich texture.
- Fresh Herbs: Bay leaves, celery stalks, and a few sprigs of thyme or rosemary are excellent additions. Parmesan rinds can also add an unexpected depth of flavor.
- Vegetables: Onions, carrots, and garlic are often used to enhance flavor.
- Acidic Ingredient: Cider vinegar or tomato paste helps break down the bones and release their nutrients.
- Water: Enough water to fully cover the bones, usually several quarts of water. Ice cube trays are great for storing the broth for future use, as the broth freezes well.
- Seasonings: Add black peppercorns, salt, and any additional spices you prefer.
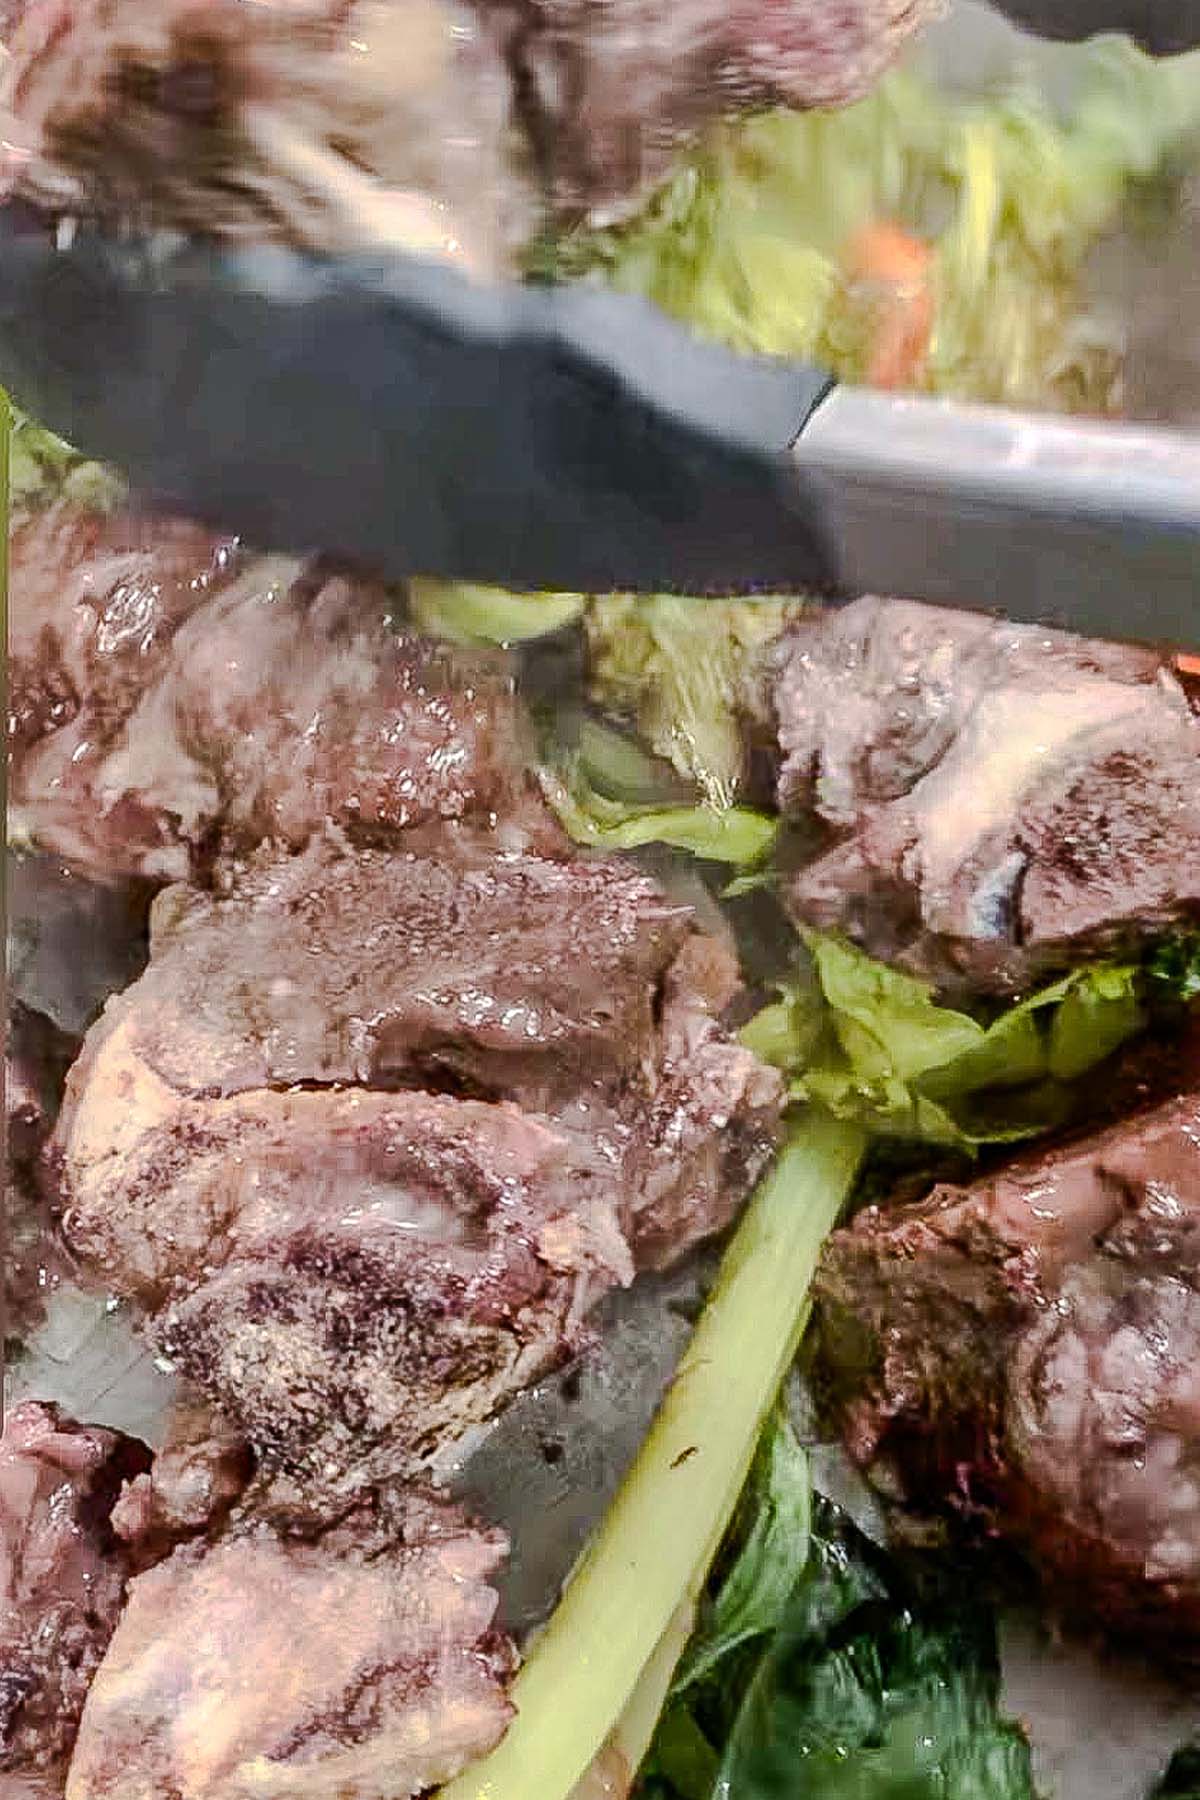
The Roasting Step (Optional, But Worth It)
A great way to enhance the flavor of your broth is by roasting the bones first. Preheat your hot oven to 400°F. Arrange the bones in a single layer on a baking sheet, and roast them for 30–40 minutes until they are nicely browned. This adds a deep, rich flavor that will make your broth even more delicious. If using beef marrow bones, the marrow will melt into the broth and add an extra layer of richness.
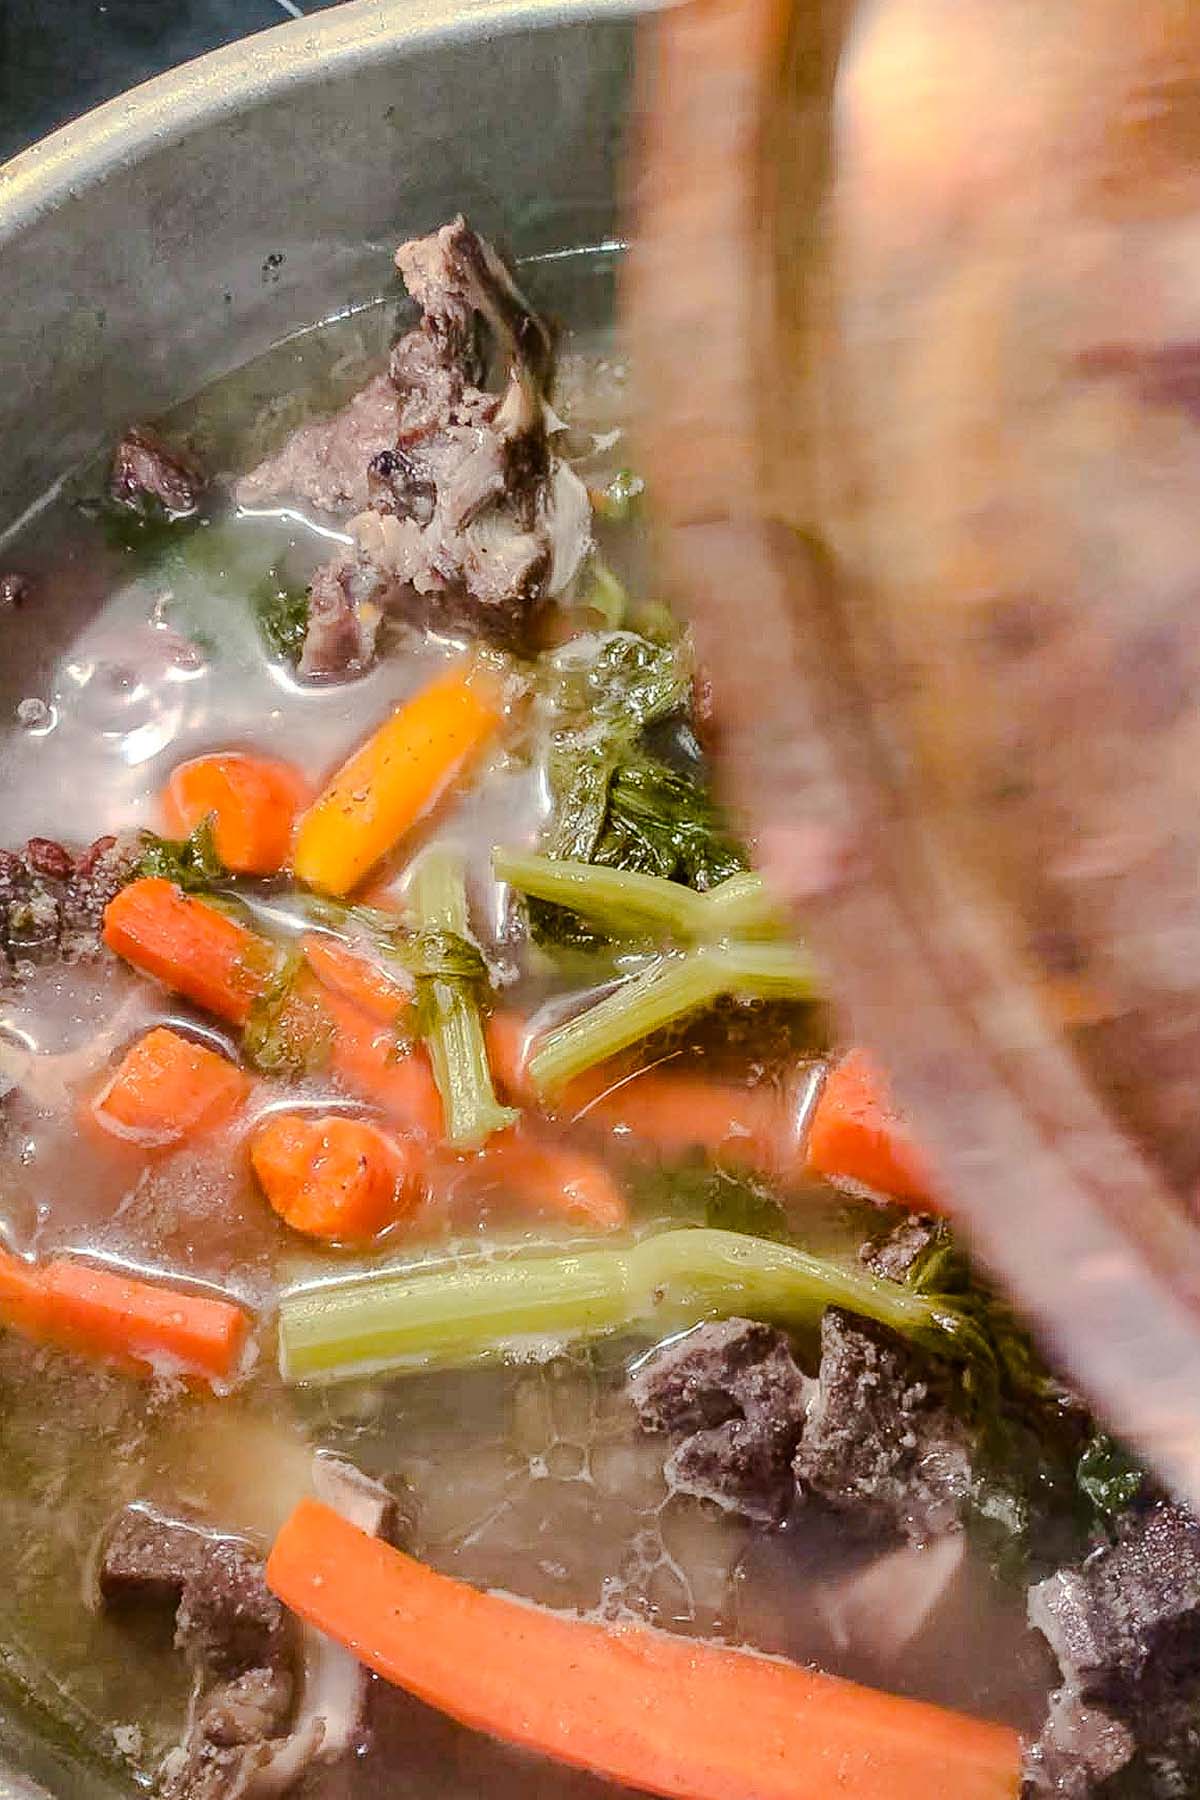
Making Bone Broth in a Stockpot or Slow Cooker
Once your bones are ready, place them in a large stockpot or slow cooker. If you’re using a large pot on the stovetop, ensure you’re working over high heat at first to bring the broth to a boil. Once boiling, reduce the heat to low heat and allow it to simmer for hours. For beef stock, bone broth recipes typically recommend a cooking time of long time—anywhere from 12 to 24 hours. This long simmer extracts all the nutrients from the bones, including collagen, minerals, and amino acids.
If you’re short on time, an instant pot method or pressure cooker can dramatically reduce the cook time while still delivering a flavorful broth. Simply cook on high pressure for about 2–3 hours. The instant pot method is a great way to speed things up without sacrificing too much flavor.
Skimming and Straining
As your broth simmers, you’ll notice some excess fat and browned bits floating on top. Use a slotted spoon to skim off these impurities to maintain the broth’s clarity and taste. It’s a good rule of thumb to skim the surface every couple of hours, especially if cooking over a very low simmer.
After your broth has finished cooking, use tongs to carefully remove the bones. If you used a large stockpot, you might want to strain the broth through a fine-mesh sieve or cheesecloth into another pot. This ensures the broth is smooth and free of any small bone fragments.
The Finishing Touches
Once strained, bone broth is ready for use. Add a pinch of salt and freshly cracked black peppercorns to taste. You can even add a cup of bone broth to enhance soups like french onion soup or use it as a base for stews. If you’re making beef broth or chicken broth, you can freeze any leftover broth in an ice cube tray for easy future use. The broth can be stored in the fridge for up to a week or frozen for longer-term storage.
Health Benefits of Bone Broth
Homemade bone broth isn’t just for soups and stews—it’s also packed with health benefits. The collagen from the bones supports gut health, promotes joint pain relief, and improves skin elasticity. Bone broth is rich in gelatin, which helps support healthy digestion, making it a good choice for those with digestive problems. It’s also full of amino acids, which are the building blocks of protein in the body.
Additionally, bone broth contains minerals like calcium, magnesium, and phosphorus, which are essential for bone health. When you drink it regularly, it may help to maintain strong bones and teeth. The connective tissue in the broth is beneficial for joint repair and flexibility, which is especially helpful for people dealing with joint pain or arthritis.
Tips for the Best Bone Broth
- Use the best bones: Ask your local butcher for high-quality bones, ideally from grass-fed or pasture-raised animals. You can mix beef marrow bones, soup bones, and veal bones to create a more complex flavor profile.
- Don’t rush: Slow cooker or stock pot methods are best when you allow your broth to cook slowly over time. A long cooking time brings out the richest flavors.
- Blanch bones first: If you’re starting with raw bones, consider blanching them in cold water for 10 minutes to remove impurities before roasting them.
I hope you enjoyed this recipe on making a roasted beef bone broth and all the tips and tricks that I included. I make this on a regular base because of my degnerative spine and bone issues that I have. It is a regular thing that I turn to when I'm not feeling well and wanted to share. Till next time my beautiful friends as my quest for the perfect bite continues, As the saying goes. "Feeling souper cozy with this bowl of goodness!"
Roasting Beef Bones for Broth
Ingredients
- 4 pound beef bones
- 2 tablespoons olive oil
- 5 carrots cut into large chunks
- 4 celery stalks cut into large chunks
- 1 head of garlic
- 2 bay leaves
- 1 teaspoon black peppercorns
- 1 tablespoon apple cider vinegar helps to extract minerals from the bones
- 2 teaspoon Salt I used a 2 teaspoon it depends on your taste buds
- 12 cup Water enough to cover the bones in the pot
Instructions
Roast the Bones
- Preheat your oven to 400°F (220°C). Arrange the bones on a baking sheet and drizzle with olive oil and some salt,
Prepare the Vegetables
- Place the onion, carrots, and celery on top of the bones of the baking sheet. Drizzle with a little olive oil and roast for about 1 hour until they begin to caramelize.


Make the Broth
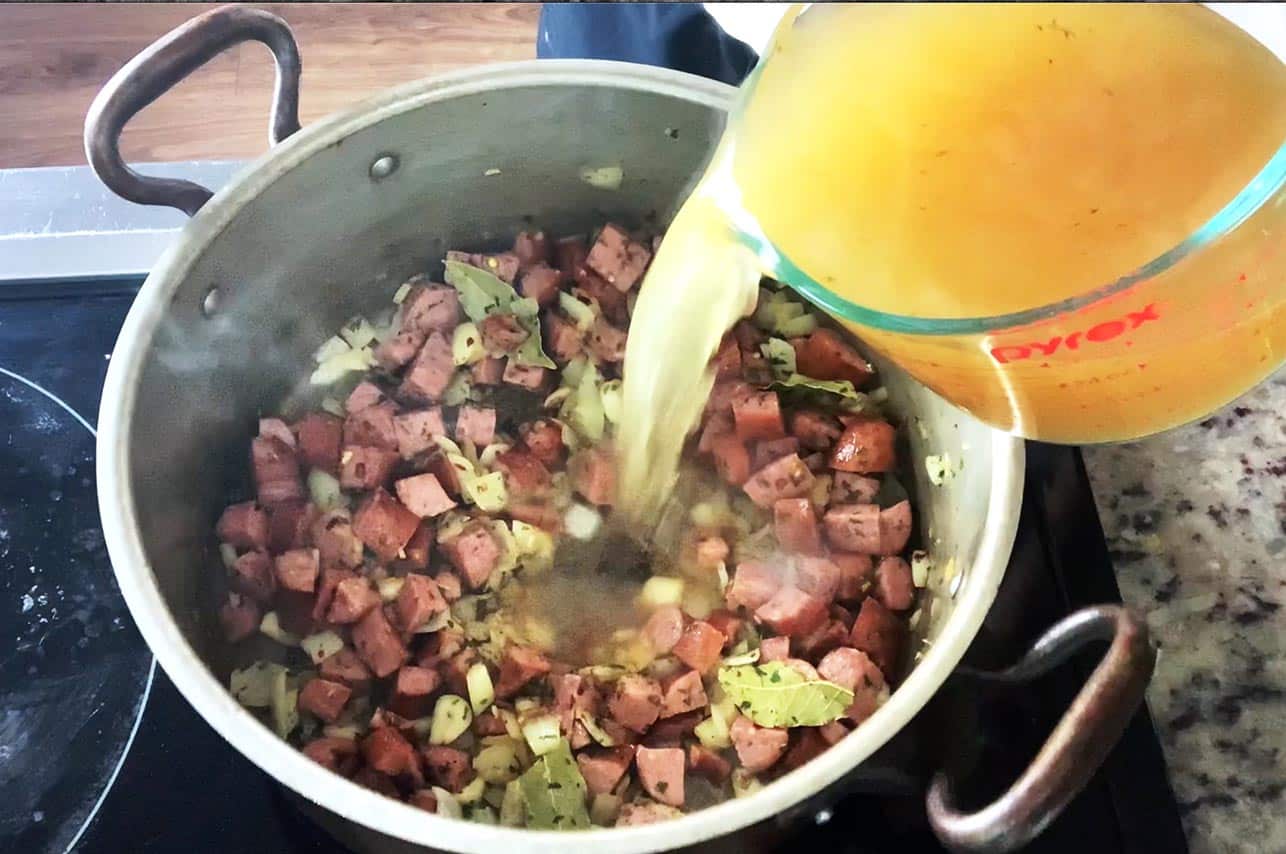
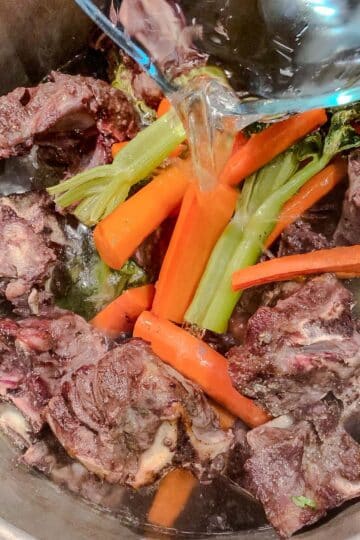
- Once the bones and vegetables are roasted, transfer them to a large stockpot or slow cooker. Add salt, bay leaves, peppercorns, apple cider vinegar, and enough water to cover the bones (usually around 12-14 cups, depending on your pot’s size).

Simmer the Broth
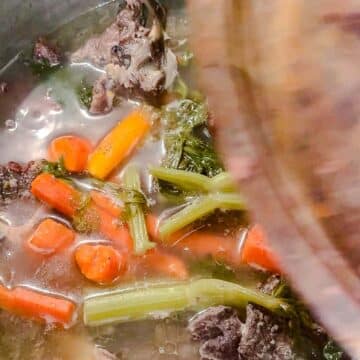
- Bring the mixture to a boil over high heat. Reduce the heat to low and simmer, for at least 6 hours (up to 24 hours for a richer broth) . I only did 6 hours. If using a slow cooker, cook on low for 12-24 hours. During the simmering, skim any foam or impurities that rise to the surface.
Strain the Broth
- After the simmering time is complete, strain the broth through a fine mesh strainer into a clean container, discarding the bones and vegetables.

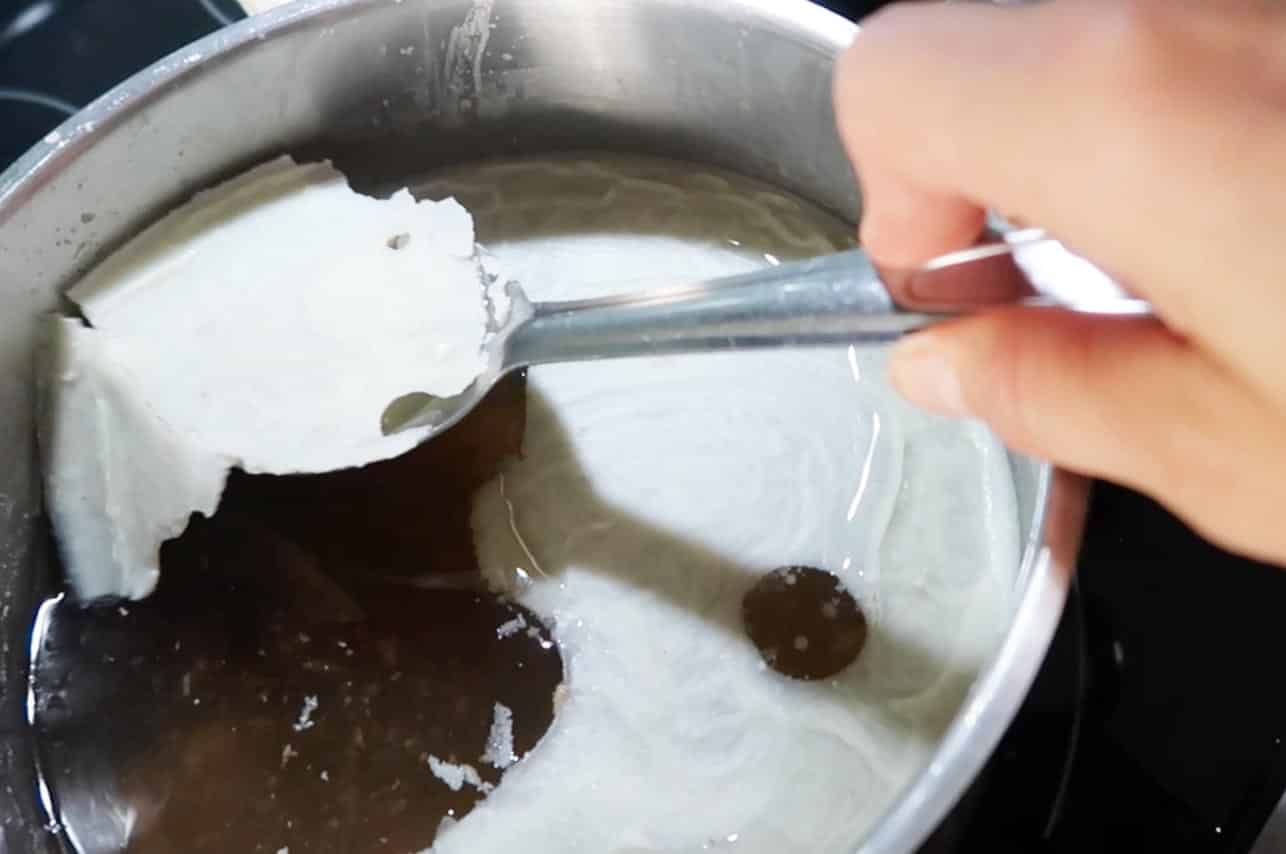
Cool and Store
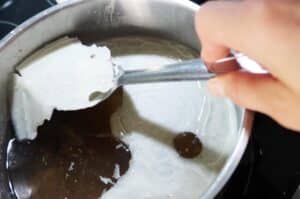
- Let the broth cool, then refrigerate. The fat will rise to the top and solidify, which you can either discard or use for cooking. The broth will keep in the fridge for about 5 days or freeze it for longer storage.

Leave a Reply